Ever thought about the space under your kitchen sink? It’s not just for storing cleaning supplies! We’re here to tell you, it’s the perfect spot for insulation. This simple trick can keep your pipes from freezing when it’s chilly and cut down on the noise from your garbage disposal. Plus, it can make your home more energy-efficient, saving you money on bills. Stick with us, we’ll show you all about the perks of kitchen sink insulation and how to do it yourself.
Can You Insulate Under a Kitchen Sink?
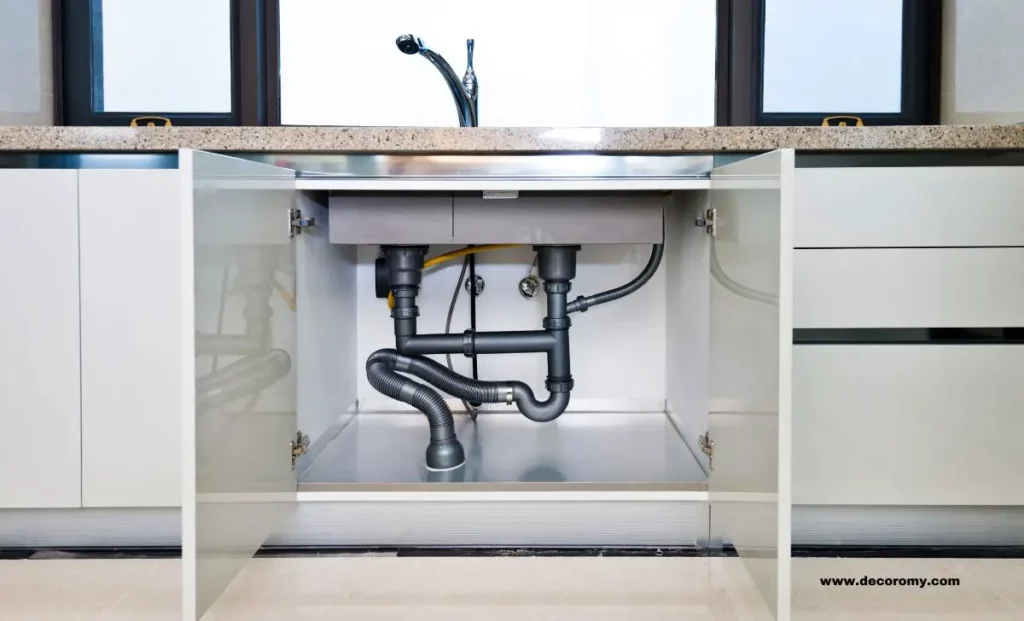
Yes! You can absolutely put insulation under your kitchen sink. Most sinks have plenty of room for it. It’s an often-missed spot in your home that can help you save energy.
You have two choices when it comes to putting in the insulation. You can do it yourself (DIY) or hire a pro. If you like doing house projects, the DIY way can save you money. We’ll give you tips on how to do it later. If DIY isn’t your thing, a pro can get it done right and quick.
Why Insulate Under Your Kitchen Sink?
Putting insulation under your kitchen sink is a smart move. It helps keep the heat in your home. That means you don’t need to use as much energy to keep your home warm in winter and cool in summer.
Insulating under your sink helps stop heat from leaving your home. This can help lower your energy bills. It’s good for your wallet and the Earth!
Perks of Insulating Under Your Kitchen Sink
There are lots of good reasons to insulate under your kitchen sink. Here are a few:
- It’s quieter: Insulation can help cut down on the noise from your garbage disposal and pipes.
- It’s comfy: Insulation helps keep the area under your sink from getting too cold in winter or too hot in summer.
- It’s safe: Insulating your pipes keeps them from freezing in cold weather. This can stop expensive repairs and water damage.
Insulating under your kitchen sink is a win-win. You can do it yourself or hire a pro. Either way, you’ll save energy, keep your kitchen quieter and cozier, and protect your pipes.
Best Insulation for Your Kitchen Sink
Thinking about insulating under your kitchen sink? You’ve got some options. Let’s talk about two popular choices: foam and fiberglass.
#1. Foam Insulation
Foam insulation is great because it keeps the cold out really well and it’s super easy to put in. Imagine a can of whipped cream – that’s how you apply it! It fills in all the tiny spaces to keep your pipes warm. But, it’s a bit more pricey than other options.
#2. Fiberglass Insulation
Fiberglass is another good pick. It’s cheaper and works well in all kinds of weather. It’s a bit like cotton candy, but made of glass, and you can cut it to fit any space! But, you need to be careful when handling it because it can irritate your skin.
Foam or Fiberglass?
So, foam or fiberglass? If you want top-notch insulation and don’t mind the extra cost, go for foam. If you’re watching your pennies and don’t mind being a bit careful, fiberglass is your friend. Both are good choices to keep your sink area cozy and quiet!
Step-by-step Guide to Insulating Under a Kitchen Sink
We understand that insulating under your kitchen sink can seem daunting at first. However, with our detailed guide, we aim to make this task as straightforward and efficient as possible. So, let’s delve into it!
Tools and Materials Needed for Insulation
Firstly, you’ll need to gather all necessary tools and materials to ensure a smooth installation process. These include:
- Insulation material (Foam or Fiberglass)
- Insulation tape
- Utility knife
- Measuring tape
- Protective gloves
Preparatory Measures Before Insulation
Before we begin the installation process, it’s crucial to prepare the area under the sink. Start by giving it a thorough cleaning to remove any debris or dust that could interfere with the insulation. Using your measuring tape, take accurate measurements of the area you plan to insulate. These measurements will guide you in cutting the right size of insulation material.
Detailed Process of Applying Insulation
With your tools and materials ready and the area under the sink prepped, it’s time to get down to the business of insulation. Here’s a step-by-step guide on how you can achieve this:
- Using the measurements taken, cut the insulation material to the appropriate size with your utility knife.
- Fit the cut insulation into the space under the kitchen sink. Make sure it snugly covers all the pipes and the garbage disposal unit if present. This step is crucial for preventing heat loss and reducing noise.
- Secure the insulation in place using the insulation tape. Ensure there are no loose ends as they could lead to inefficiencies.
- Repeat the process until the entire area under the sink is insulated.
Remember, the goal is to have a well-insulated sink that not only prevents frozen pipes but also reduces the noise from the garbage disposal unit. By following these steps, we’re confident you’ll achieve just that.
Read more: Is My Kitchen Sink Connected to My Bathroom Sewage Pipe?
Important Safety Tips for Insulating Your Kitchen Sink
Stay Safe While Insulating
Remember, your safety comes first. Insulation materials can be a bit rough on your skin and lungs. So, always wear gloves and a mask when you’re working with it. This way, you won’t be bothered by itchy skin or a scratchy throat.
Keep Air Flowing to Stop Dampness
Next, let’s talk about air. Good air flow stops dampness and mold from building up. So, make sure the space under your sink isn’t totally packed with insulation. Leave a little room for air to move around. If you need to, you can even put in a small vent.
Keep Your Insulation Dry
Last but not least, keep your insulation dry. Water can cause all sorts of problems like mold and damage. To stop this, use a water barrier or waterproof insulation. Either one will keep your insulation dry and working well.
Conclusion
So, Can you insulate under a kitchen sink? Yes, indeed! With a few tools and materials, it’s a DIY project that can bring about energy efficiency and cost savings. We encourage you to take on this task. You’ll be amazed by the benefits.
Remember, regular checks and maintenance are key to long-lasting insulation. It’s worth the effort if it keeps your home cozy and your energy bills low. So, why not give it a try?
Insulating under your kitchen sink is more than possible. It’s a smart, cost-effective move that every homeowner should consider. We hope our guide has given you the confidence to tackle this project. Good luck!